
A straight barricade line is easy. Real worksites rarely are.
Work areas wrap around plant, follow excavations, meet existing structures and change direction as the job progresses. Some need to remain completely enclosed. Others require controlled entry or several connected boundaries.
This is where a modular hard barricading system becomes particularly useful. Rather than forcing every restricted area into the same basic shape, different combinations of poles, fixed legs, swivel legs and gates can be used to create a layout that suits the work area.
Here are six ways Eureka’s Hard Barricading System can be configured onsite.
1. The Long Straight Run
The straight run is the simplest hard barricading layout, but it remains one of the most useful.
It can be used to establish a clear boundary alongside an excavation, separate pedestrians from an active work area or restrict access across one side of a maintenance zone.
Eureka’s 2-Way Fixed Twin Rail Legs are designed for continuous straight-line configurations. Each leg supports poles travelling in both directions, allowing the barricading to continue without unnecessary gaps.
For larger areas, 5.8m barricade poles can cover longer distances with fewer individual spans. The 2.9m poles may be more practical where the available space is limited or a shorter boundary is required.
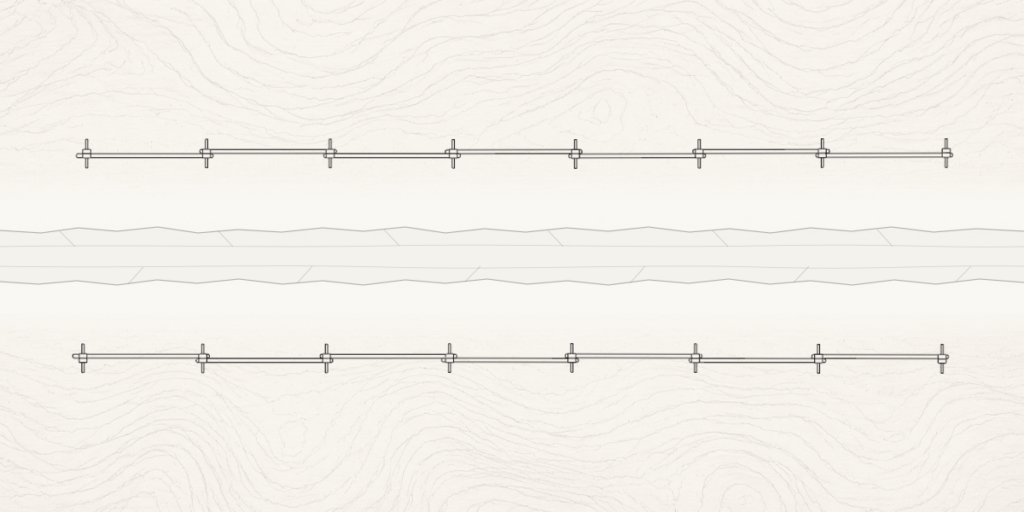
A straight layout works best when the boundary has a clear beginning and end. If the work area changes direction, fixed legs can be combined with swivel legs to continue the barricading around a corner.
2. The L-Shaped Corner
Many restricted areas cannot be controlled with a single straight line.
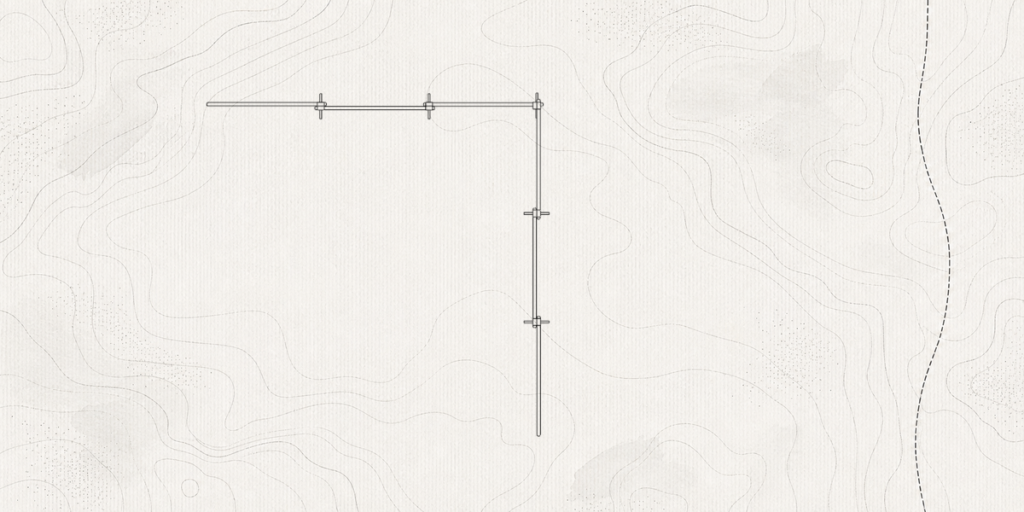
An L-shaped configuration allows hard barricading to follow two sides of a work area, wrap around equipment or change direction to suit the surrounding site layout.
This is where the 4-Way Swivel Barricade Leg comes into play. Its adjustable connections allow poles to continue at different angles rather than being limited to a straight line.
The result is a more deliberate boundary that follows the actual work area. It avoids extending the barricading unnecessarily or cutting across space that still needs to remain accessible.
L-shaped layouts may be useful around plant maintenance, trenching, temporary hazards and work occurring beside an existing structure.
3. The U-Shaped Work Area
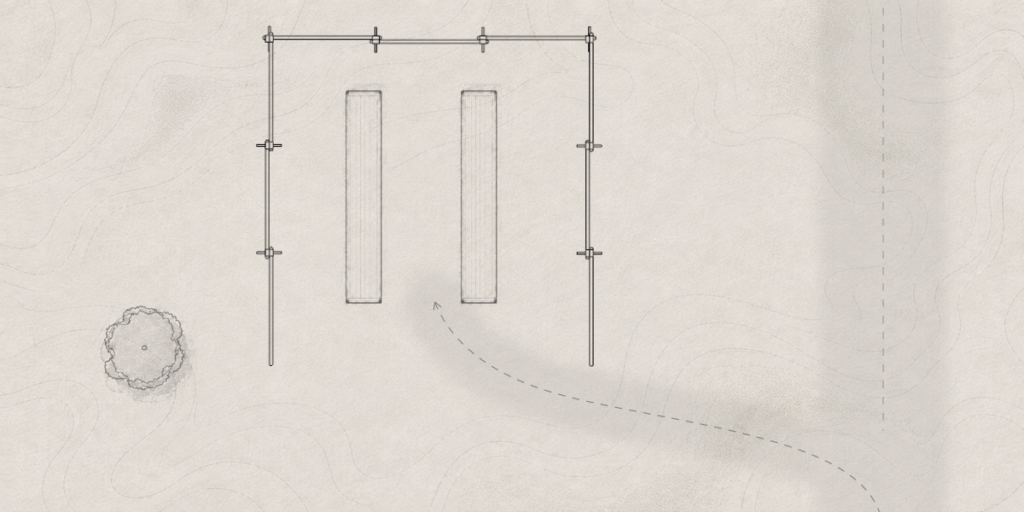
A U-shaped layout creates a boundary around three sides of an activity while leaving one side open or accessible under the site’s nominated controls.
This configuration may suit a temporary work front positioned against an existing structure, fixed plant or another established boundary. It can also help direct people away from the sides of an activity while maintaining a defined approach from one direction.
Fixed legs can be used along the straight sections, with swivel legs forming the two corners.
The open side must still be considered carefully. Depending on the hazard and site requirements, it may need supervision, signage, a gate or additional barricading. An existing wall, structure or piece of equipment should only be treated as part of the boundary where it provides suitable separation.
The advantage of the U-shaped layout is flexibility. The sides can be extended as the work area grows or shortened when less space is required.
4. The Fully Enclosed Zone
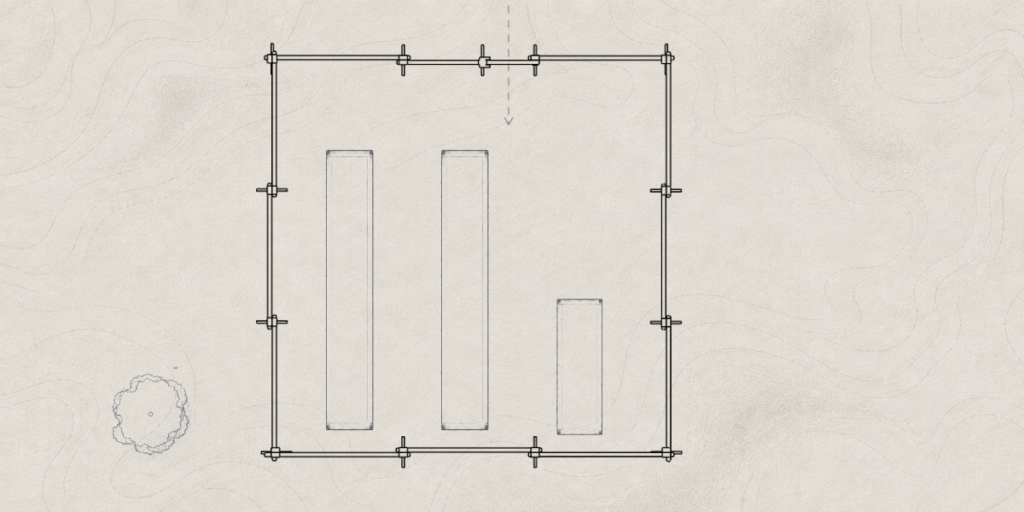
Where access needs to be restricted from every direction, hard barricading can form a complete enclosure around the work area.
This layout may be used around maintenance activities, isolated equipment, excavations or other temporary hazards located within a larger operational area.
A complete enclosure makes the boundary clear regardless of which direction workers approach from. It can also reduce the likelihood of someone unintentionally entering through an unprotected side.
The shape does not need to be a perfect square or rectangle. Eureka’s swivel legs allow the barricading to follow corners, bends and irregular areas where required.
However, completely surrounding the area creates another question: how will authorised personnel enter?
Moving poles, climbing through the barricading or creating an improvised opening can weaken the purpose of the setup. A Heavy Duty Barricading Gate provides a designated access point without requiring the surrounding barricade to be disturbed.
5. The T-Section or Branching Boundary
Some work areas need more than an outside perimeter.
A T-section can allow one barricade run to divide into two directions, creating connected boundaries or separating adjacent activities. More complex layouts may use Y-sections or four-way intersections where several restricted areas meet.
These configurations may be useful during shutdowns, large maintenance projects or staged work where several crews are operating within the same broader area.
The swivel design of Eureka’s 4-Way Barricade Leg allows multiple poles to connect at different angles. This makes it possible to build branching layouts without relying on separate, loosely positioned barricades.
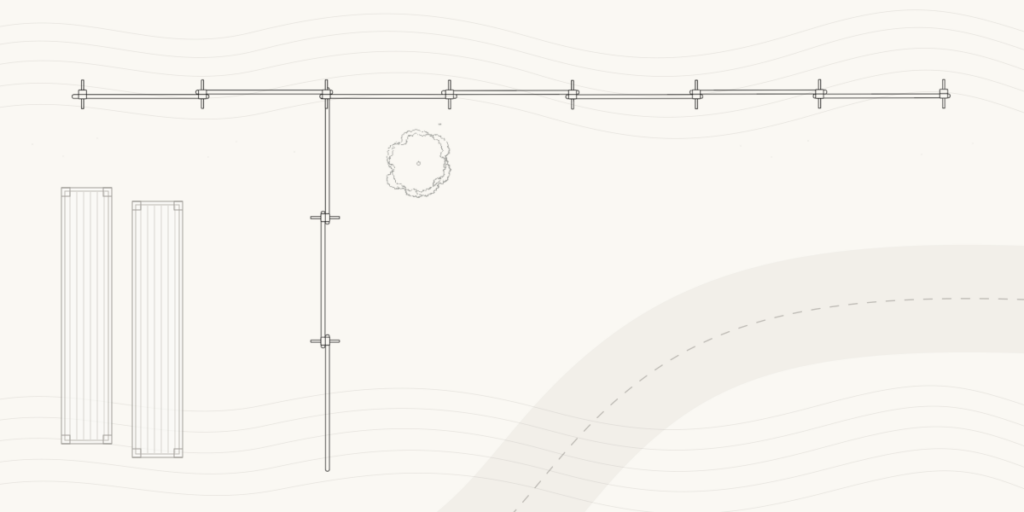
A branching setup can also be changed as work progresses. One section may be removed when a task is completed while the remaining barricading stays in place around active work.
Careful planning is important. The layout should remain easy to understand, with clear boundaries and access points that do not create confusion between neighbouring work areas.
6. The Controlled Access Layout
Not every barricading decision is about the shape of the boundary. Sometimes the most important part of the layout is the way people move through it.
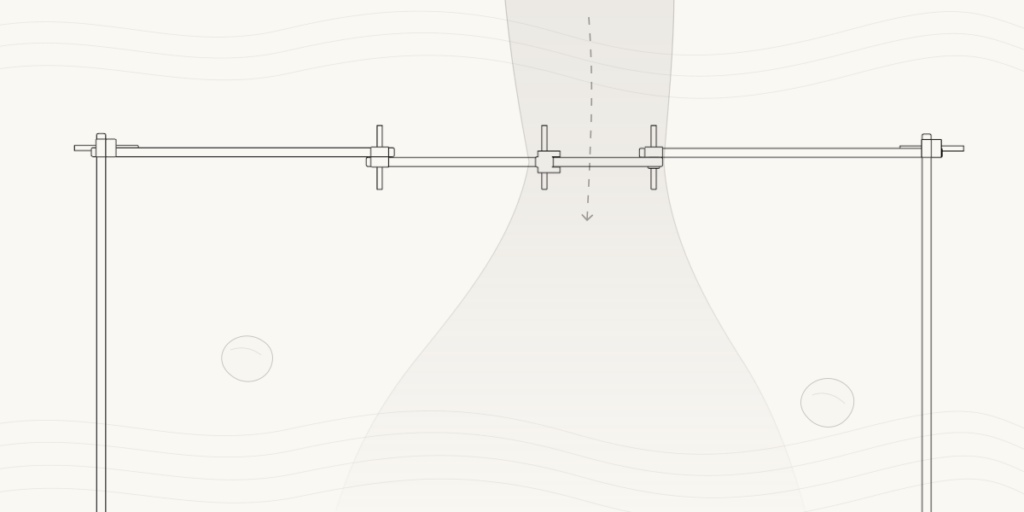
A controlled access configuration incorporates a gate at the designated entry point. This provides an obvious route for authorised personnel and reduces the temptation to climb over, pass underneath or move part of the barricading.
The gate can be incorporated into a complete enclosure, positioned at the end of a straight run or included within a more complex layout.
Its location should be planned around how the work will be performed. Consider where workers will approach from, whether tools or equipment need to pass through and whether the entry point could interfere with nearby pedestrians, plant or emergency access.
Signage can then be positioned around the nominated entry point to communicate the access conditions, hazard or responsible work group.
Choosing the Right Layout
The right hard barricading layout starts with the work area, not the available components.
| Before installation, consider |
| What needs to be separated or restricted |
| Every direction from which the area can be approached |
| The required distance from the activity or hazard |
| Nearby pedestrian, vehicle and plant movements |
| Changes in ground level or surface conditions |
| Where authorised personnel will enter and exit |
| Whether the boundary will move as work progresses |
| The combination of straight runs, corners and intersections required |
A longer layout may benefit from 5.8m poles, while 2.9m poles can provide more flexibility around confined or irregular areas. Fixed legs suit straightforward runs, while swivel legs allow the barricading to turn, branch and adapt.
The selected barricading must always reflect the site’s risk assessment, procedures and the specific hazard being controlled. General hard barricading should not automatically be treated as certified edge protection, fall protection or vehicle-impact protection.
Built to Change With the Work
A work area that starts as a straight boundary may later need a corner, a gate or a complete enclosure. As the project progresses, the barricading may need to expand, move or divide into several connected areas.
Eureka’s modular system allows compatible components to be rearranged rather than limiting the site to one permanent configuration.
From simple straight runs to complex branching boundaries, the system can be built around the job and reconfigured when that job changes.
Explore Eureka’s complete Hard Barricading System or contact the Eureka team to discuss a suitable configuration for your worksites.